
How great would it be if we could install WordPress locally on our computer and that too without any hosting provider. Yes, it is very easy. You can install WordPress on localhost on your Windows computer through WAMP server.
In simple words, understand that through WAMP Server you can use your computer as a hosting platform, where you can install WordPress on your computer itself.
Today in this article, we will explain about how to install WordPress on localhost using wamps server step by step.
Table of contents
What Exactly is a WampServer?
You must be wondering what is WAMP Server? We can use WampServer to create a web development environment on Windows that allows you to build dynamic web applications locally with –
- Apache
- PHP
- MySQL and
- MariaDB.
The best part is that we can use WampServer completely free of cost.
Install WampServer on Window Computer
First, we need to download WAMP Go to SourceForge website and click on the download button or you can download from Wampserver repository.
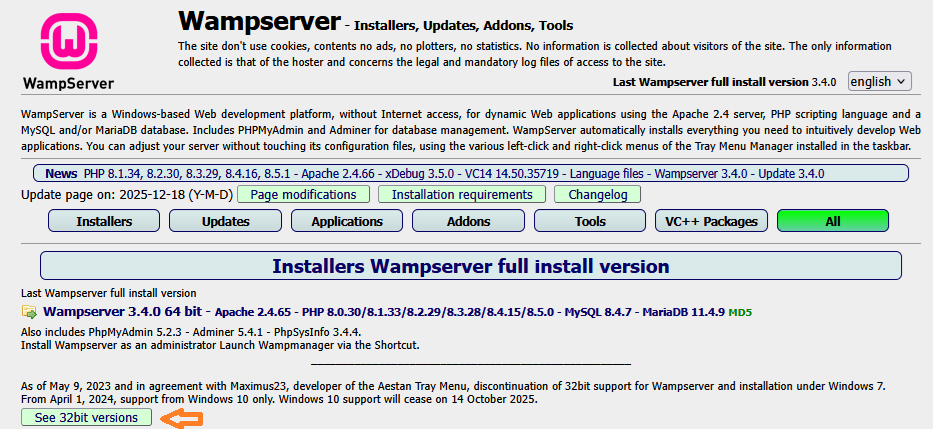
There are two versions of WampServer 32 bit and 64 bit. You have to choose the version according to your operating system.
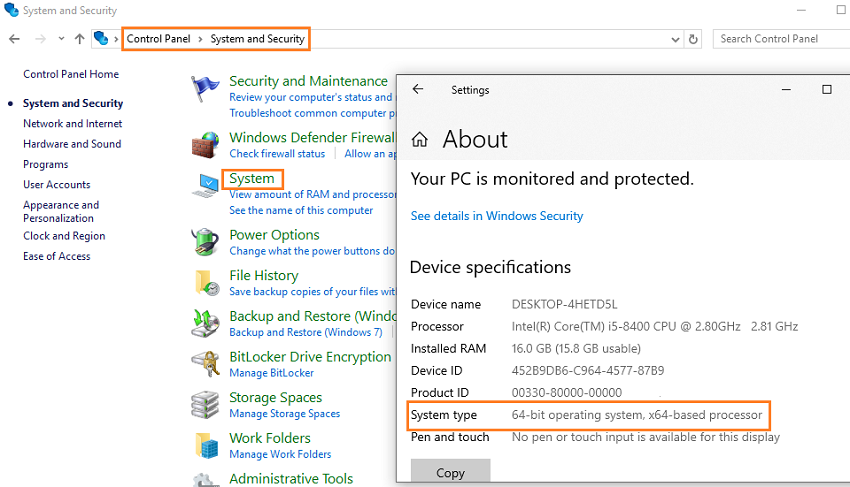
Check about page, you will find your operating system bit type, just go to Control Panel » System and Security » System in your computer.
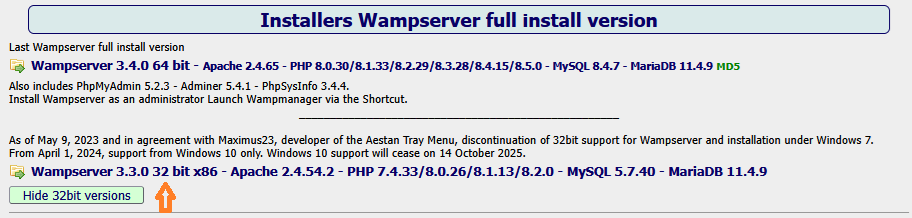
Once checked, go back to the WampServer download page and click on WampServer 64 bits or WampServer 32 bits as per your system type.
It often happens that even if your system is 64-bit, the 64-bit WAMP server doesn’t work on your computer. In such cases, you can download the 32-bit version.
Open the Downloads folder on your computer and click on the WampServer file you just downloaded. Click the Yes button to launch the server installation.
The default language is English. Select the language you want to use and click the OK button.

Before you can continue with the installation you must accept the terms of this agreement and then click the Next button to proceed.
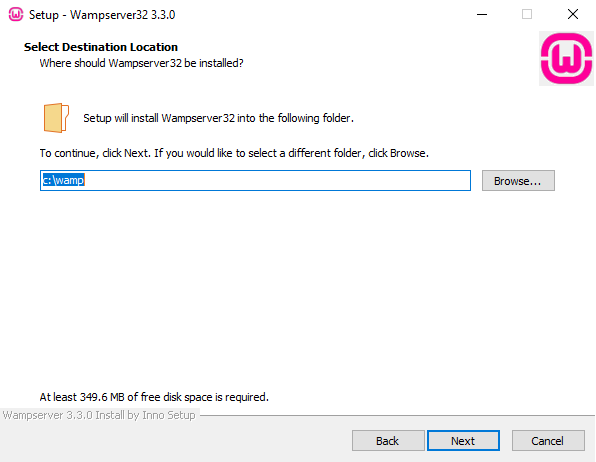
You need to select the destination location, we recommend keeping the default settings and it will install to the C folder of your computer.
Next, you can choose another browser and text editor that will be use by WampServer, click No to proceed faster.
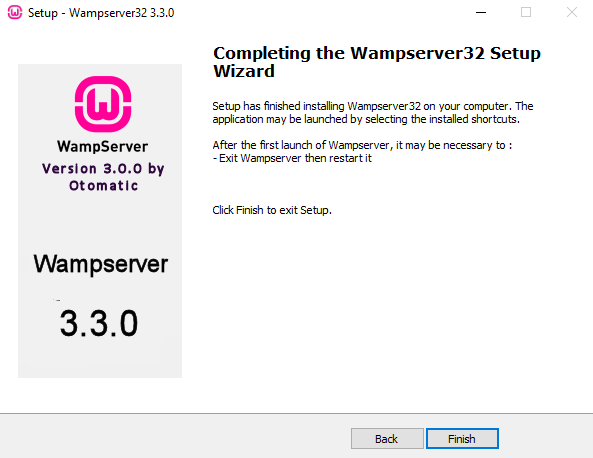
Congratulations, Wamp Server has been successfully installed on your computer.
Getting Error ?
- If you are getting any error while installing wampserver it means you are using wrong wampserver bits version. Try changing it once. If you are installing 64 bits then try with 32 bits. If you are installing 32 bits then try with 64 bits.
- The installation is complete but an error is occurring – download and install Microsoft Visual C++ Redistributable
Start WampServser
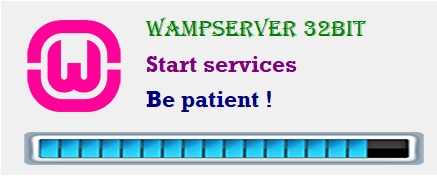
Go to Start on your computer and click on wampserver icon recently added then wampserver will be launched.
Upon launching WAMP, look at the bottom right corner of your computer screen you will see a green WampServer icon along inside ^ Arrow
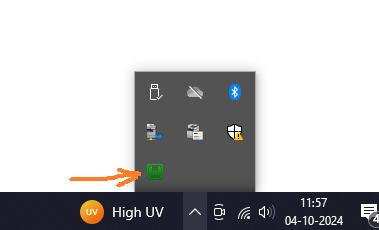
If the wamp server icon is green then everything is correct, if the color of the icon is orange then the wamp server is not fully operational.
Getting Orange Icon ? - download and install Microsoft Visual C++ Redistributable
Create Database for WordPress on Localhost
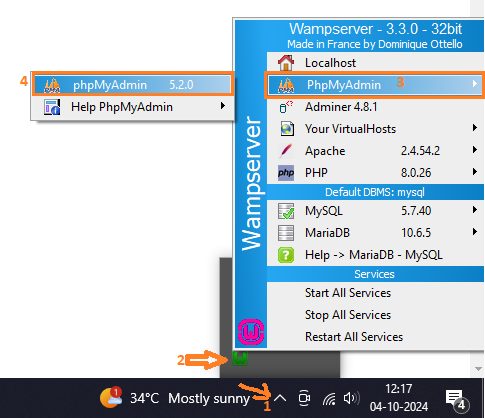
To Install WordPress on localhost we need to create database, at the bottom-right corner of your computer screen, click on hidden icons (^) and then click on Wamp Green Icon » PhpMyAdmin » phpMyAdmin 5.2.0. Clicking on it will open the phpMyAdmin web page.
If PHPMyAdmin page is not opening then copy the below URL and open it in your browser.
http://localhost/phpmyadmin/
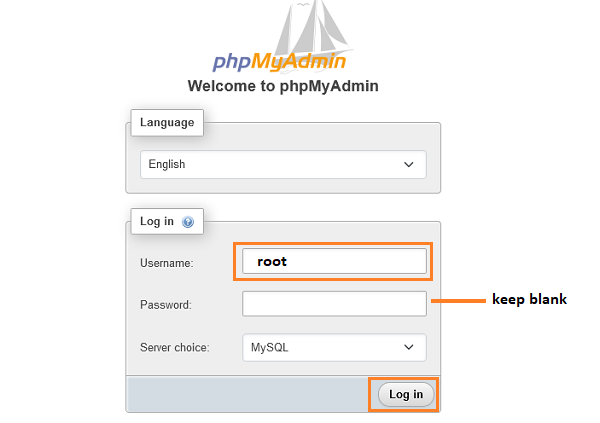
You can choose the language otherwise keep it default, the default username is root and there will be no password so keep it blank. After this, click on the Log in button to continue.
Username: root (Type in lower case only) & Password: Keep it Blank
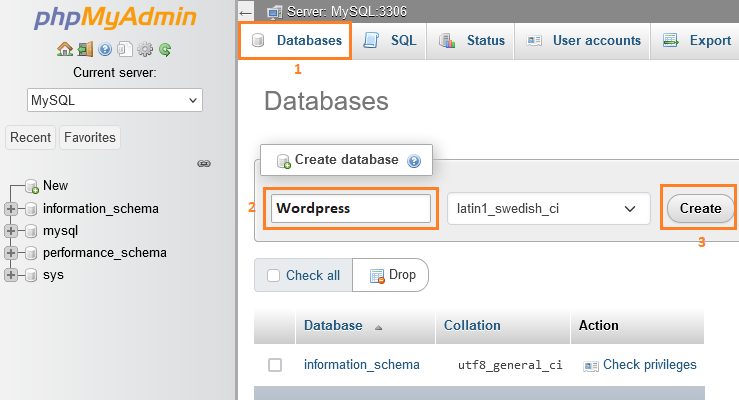
As a result, at the top of your screen, you can see the Databases tab, click on it to get the option to add a new database.
Enter the name of the database and then click on the Create button. Creating an empty MySQL database which we will use during WordPress installation.
I have named the database as WordPress, you can name it as per your choice.
The database has been created successfully now let’s install WordPress in the next step.
Install WordPress on Localhost Using Wamp
Install WordPress on localhost so that you can check out WordPress features, design, custom CSS, install plugins and test your site before going live.
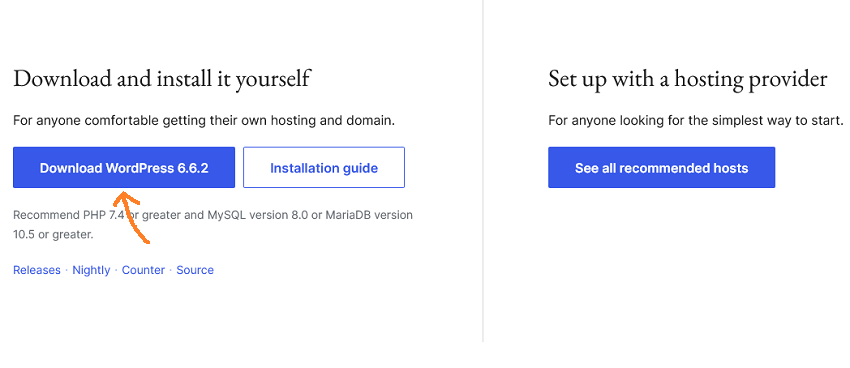
Now you need to download the latest version of WordPress from WordPress.org website It will download in zip format.
Next, you need to extract the zip file and copy the ‘WordPress’ folder.
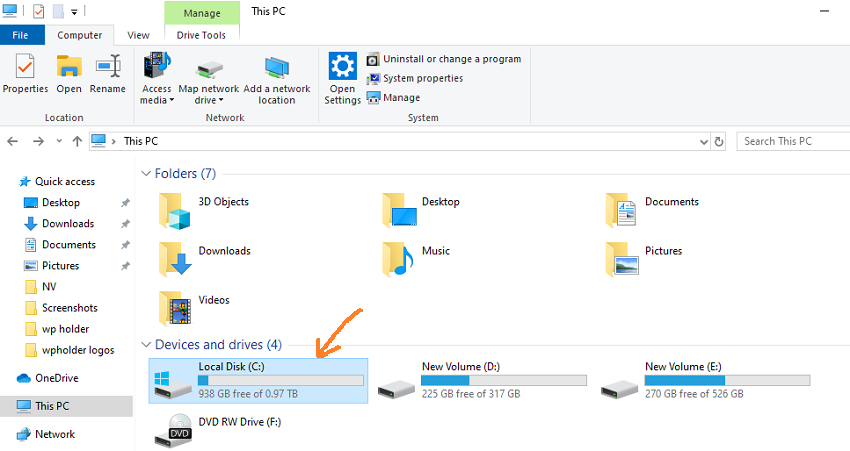
On your computer, Go to Local Disk (C)
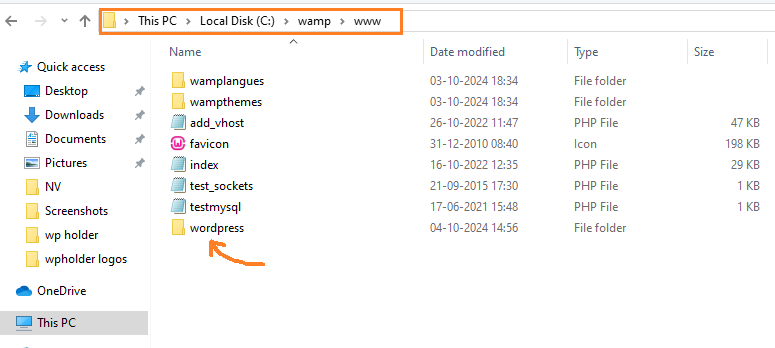
Inside C folder go to wamp » www
Now paste the ‘WordPress’ folder here which you just copied.
If you want to rename the ‘wordpress’ folder to something else, like demosite, localsite, etc. This will be the URL of your local WordPress, but we are not going to change the name here.
Next, you need to open the web browser and go to http://localhost/wordpress/, If you change the Folder to any other name of your choice, simply replace the wordpress from URL and Enter your chosen name for Example, if i Rename the “WordPress” folder to “demosite”, the URL will be http://localhost/demosite/.
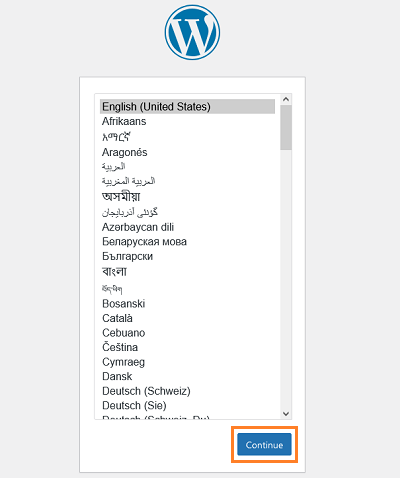
It will ask you to choose the most convenient language for you and click on the ‘Continue‘ button
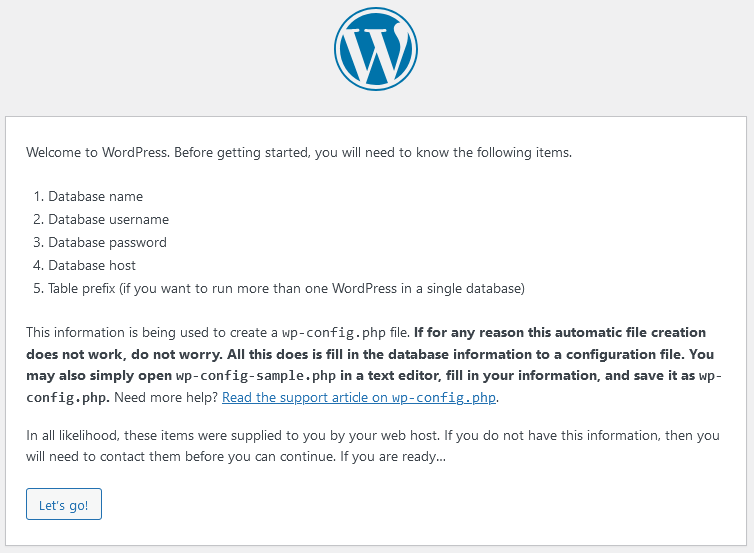
The Welcome to WordPress screen appears here. We don’t need to think about anything because we have already created the database.
Just, click on the ‘Let’s go’ button
After that, Enter your database connection details below, now in this field you have to enter only database name and username and leave the rest blank.
Write the name of the database that was created above.
You might remember that the database we created above was named “wordPress“. We have to enter the same name here as well.
Database Name = “wordpress”
Username = “root”
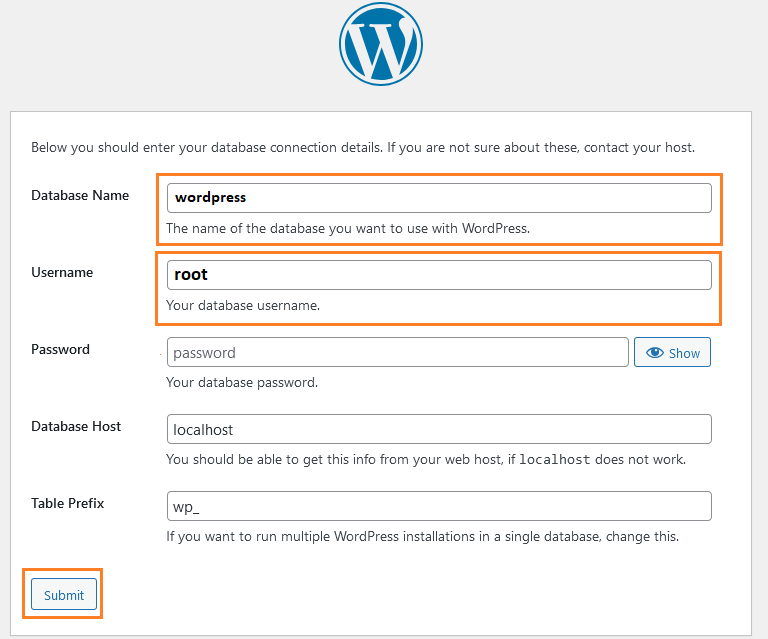
After that, click on the ‘Submit’ button
Next, you have to complete all the required fields.
Site Title = ‘mysite’ (You Can give any name of your choice)
Username = ‘admin’ (You Can choose any username)
Password = ‘*******’ (enter any password)
Your Email = (enter your email)
At last, click the ‘Install WordPress’ button.
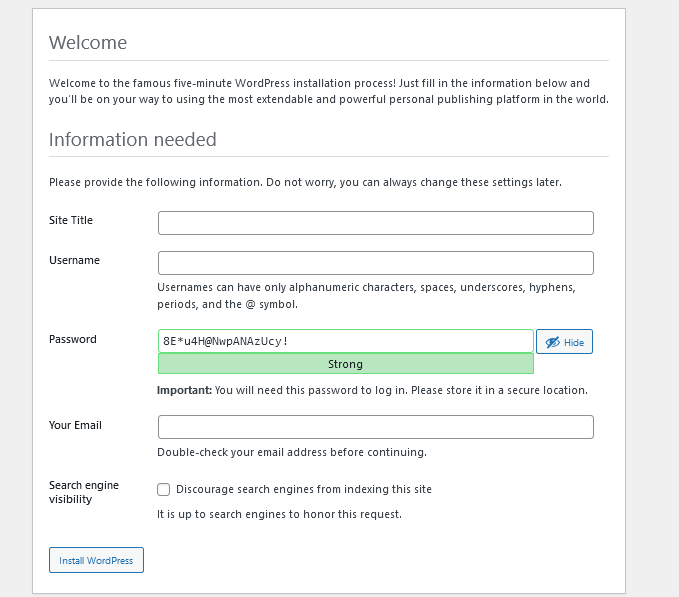
Please remember the username and password you entered as it will be used for future WordPress logins.
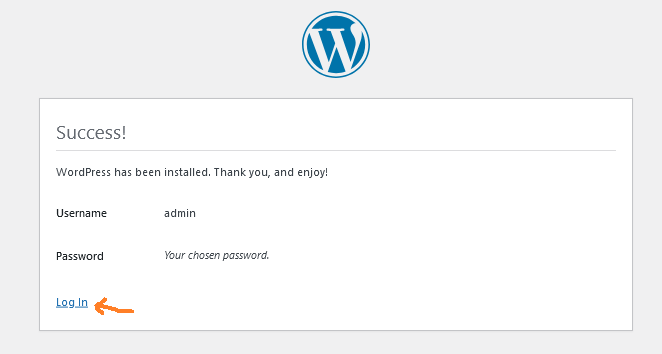
WordPress has been installed successfully. You can now login to WordPress.
following are the wordpress localhost login url
- http://localhost/wordpress/wp-login.php
- http://localhost/wordpress/wp-admin